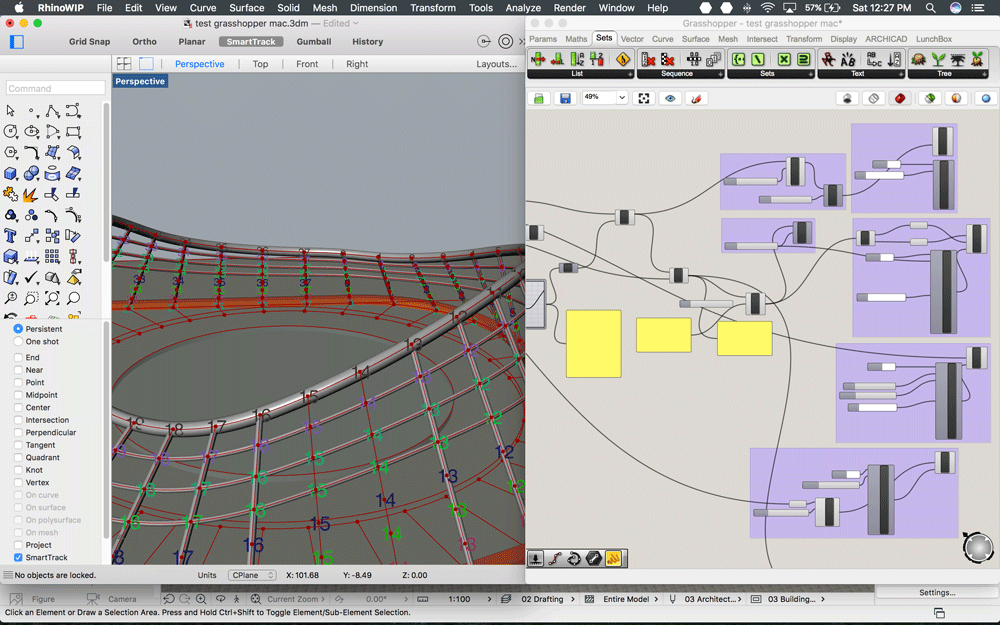
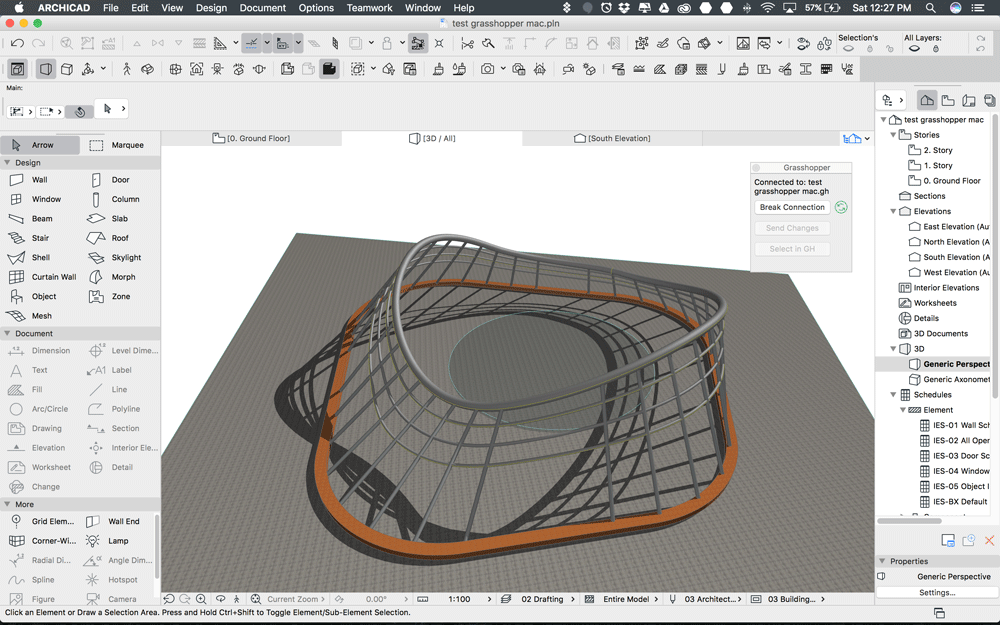
Getting back to work these days of Christmas is always kind of difficult.
For us living abroad, visiting family and friends and dealing with all kind of errands takes most of our days. But this year there is something that is keeping me tied to my desk, – a new toy for adults called Grasshopper!
I have been playing with it since the windows version came out last year, but now it is different, now it is on Mac!
It might sound a bit silly, but just the hassle of installing Windows and using the virtual machine made me lazy.
Luckily, more and more Mac users have been pushing both McNeel and Graphisoft to release a Mac version. It surprises me every time to see how in the 21st Century, it still exists software that only run one platform, when both of them host so many professional users.
Long story short, over the past month we have been trying it intensively in various projects, and we want to share some notes about the experience and some good practice tips.
We will start by summing up the inputs and the outputs of the process, leaving the Grasshopper development part for later posts, since it would be too complex to describe it just in one. I promise to feed the blog with some architectural examples applying GH.
Let’s get to it!
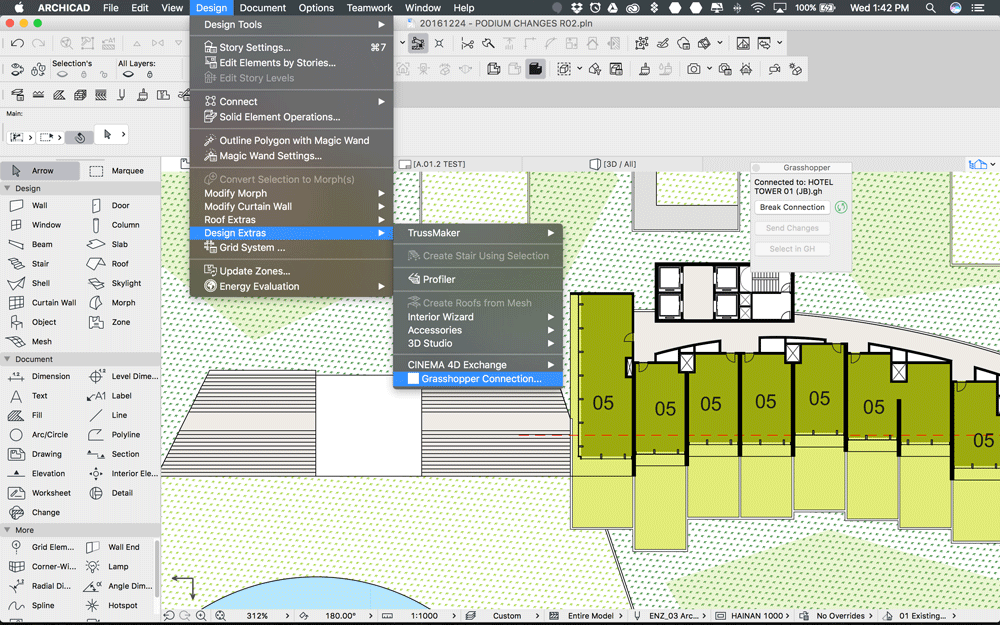
Start from your Archicad file, and connect GH (Grasshopper) first. That is under the “Design” menu > “Design Extras” > “Grasshopper Connection”.
As an AC (Archicad) user, I prefer to start generally inside AC in order to have control of the position inside the file, layers, etc. So I might start drawing some lines or maybe with an ongoing file with a lot of geometry already in it.
How do we bring some geometry to GH? Here’s the first thing: You can only bring 2D geometry from your file. That means lines (and polylines), splines or points.
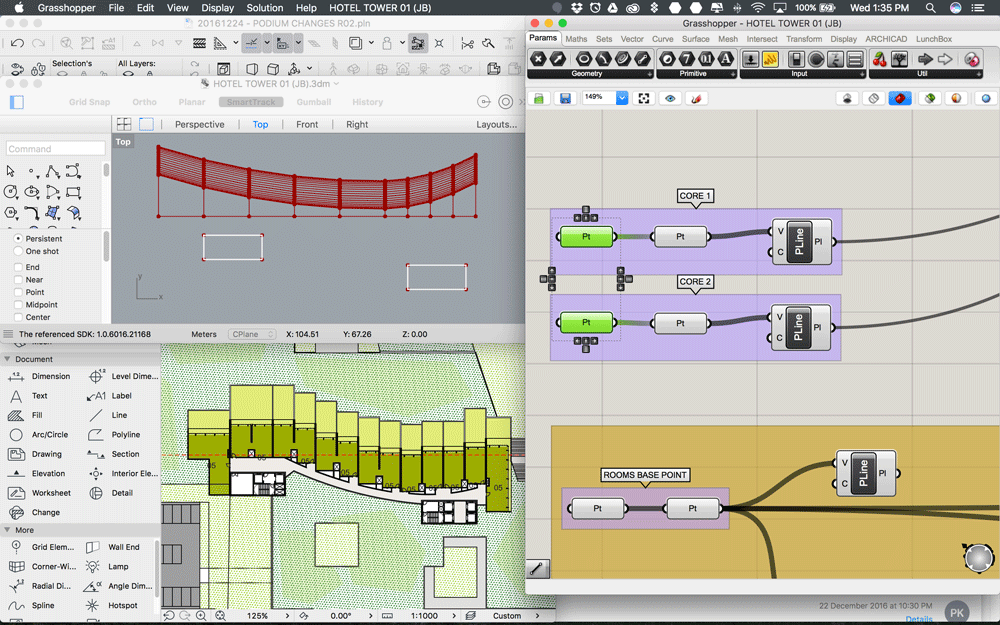
Actually, points read also the Z value, so they are technically 3D elements. You can specify the points in the floor plan or the 3D window and they will fall in their correct position in the Rhino/GH file, following global coordinates. Although you can also select one point on a section/elevation, for some reason I couldn’t get them in their proper 3D position.
So inside the GH window, under the “ARCHICAD” menu, you will find the nodes called “Parameters” that allow importing the mentioned geometry. You will get a node called “point” and right clicking on it will show the different options. You could call one Archicad point or multiple points inside the same node. Same with 2D lines and splines. The only difference is the way the data gets structured: as a list; and in order to be used later, you will have to understand how those elements have been grouped.

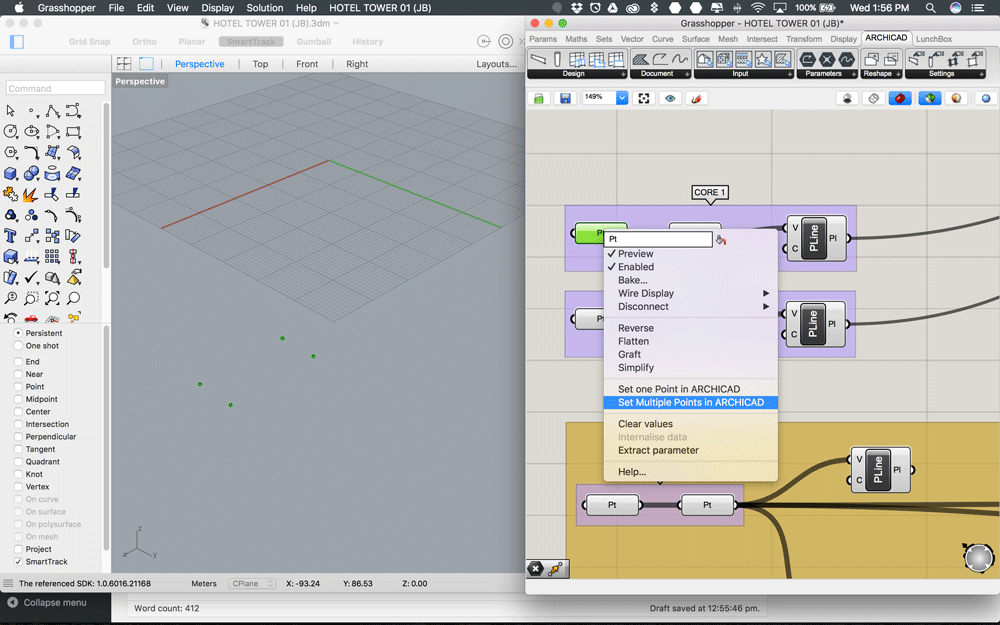
This data management is, in my opinion, one of the most difficult things to learn, but probably the most powerful and important to master in order to be able to have control of how our actions are applied throughout the project.
These are some good websites to watch some tutorials about GH, where they explain some of these “list management” concepts. I would go ahead and watch some of them, because understanding how to manage the data is the key to succeeding.
- http://digitaltoolbox.info/grasshopper-basic/
- https://vimeopro.com/rhino/grasshopper-getting-started-by-david-rutten
- http://designalyze.com/tutorial/virginia-tech-workshop
- http://grasshopperprimer.com/en/1-foundations/1-5/4_working-with-data-trees.html
OUTPUTS
A few notes about the outputs in Archicad.
After having fun with the script in GH, you basically need to convert those lines, curves, surfaces… into beams, slabs, columns, etc.
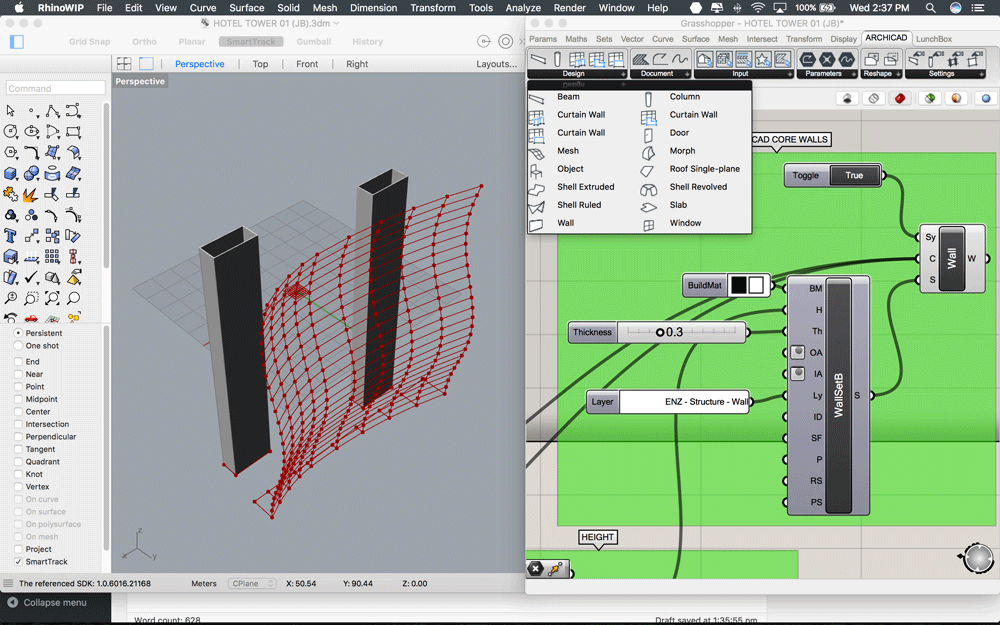
Again, inside the “ARCHICAD” menu in GH, you will find the “design” tab, that contains all the 3D AC elements needed to convert. Every AC element needs a specific input. For instance, the slabs ask for a closed polyline. Columns need two points (top and bottom) with different height values. Beams need a line or a planar curve (which is quite a limitation), and so on.
To discover which needs which, you can hover your mouse on top of the inputs and it will pop out a text explaining what kind of input is needed, -this happens with all the GH nodes.

The next thing to look at are the “settings” and “inputs” (which are AC attributes). Those complete the definition of every element and add useful non-geometric information before sending it into ARCHICAD.
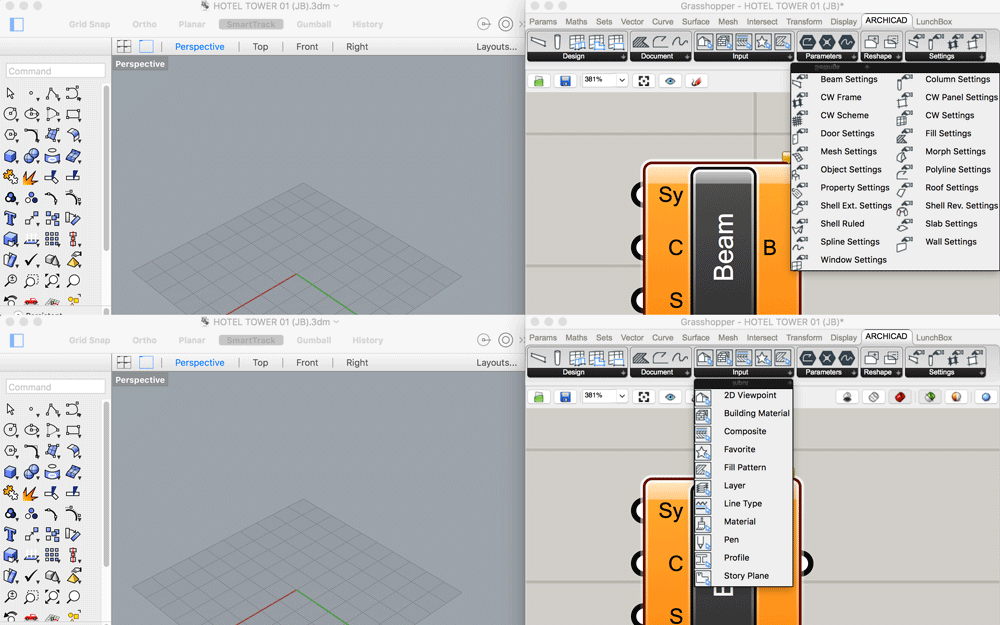 It is possible to change that information inside AC, but I think that it will be more difficult to isolate or select those elements if they have no layer or Building material…
The geometric information such as: height, thickness,etc. comes from grasshopper and can be also parametrized in many ways.
Couple of notes about sending info to ARCHICAD:
The connection works great, although I think there are a lot of things to refine and tune. One of these things is the performance. Existing Rhino/GH users are used to create and manage a big amount of elements, sometimes quite complex in its geometry with a fairly good performance. That is because elements previewed in the Rhino screen do not exist in reality. If you want them inside Rhino to be able to manipulate them, you need to “bake” them, and that can be slow and tedious if the file is complex.
I don’t know exactly how it works, but in my experience, it seems that when you have the connection alive, ARCHICAD is baking the elements over and over again. Creating and deleting them when you tweak the parameters and assigning properties, ID’s, etc. every time.
For this reason, the number of elements REALLY MATTER in order not to freeze all three Softwares.
Another thing that I have found is that AC native elements are lighter than morphs.
Having said that, I have found a couple of useful “good practice” methods that, summing up, avoid sending information to ARCHICAD until the script is fairly finished and all the testing has been made within the Rhino preview.
The first method: after sending the inputs from AC, bake them into Rhino and reassign the baked curves into the script. This works great in any situation, but it doesn’t keep alive the relationship with the initial inputs. If you change that initial curve, you will just need to send it back to GH and repeat the process. Bake and reassign.
The second method is also good, but I’m still testing it. Anticipating this issue, the developers of the plugin have left a built-in input called “Synchronize” (Sy), which is a boolean (true or false) input. I add by default a boolean toggle to every AC element.
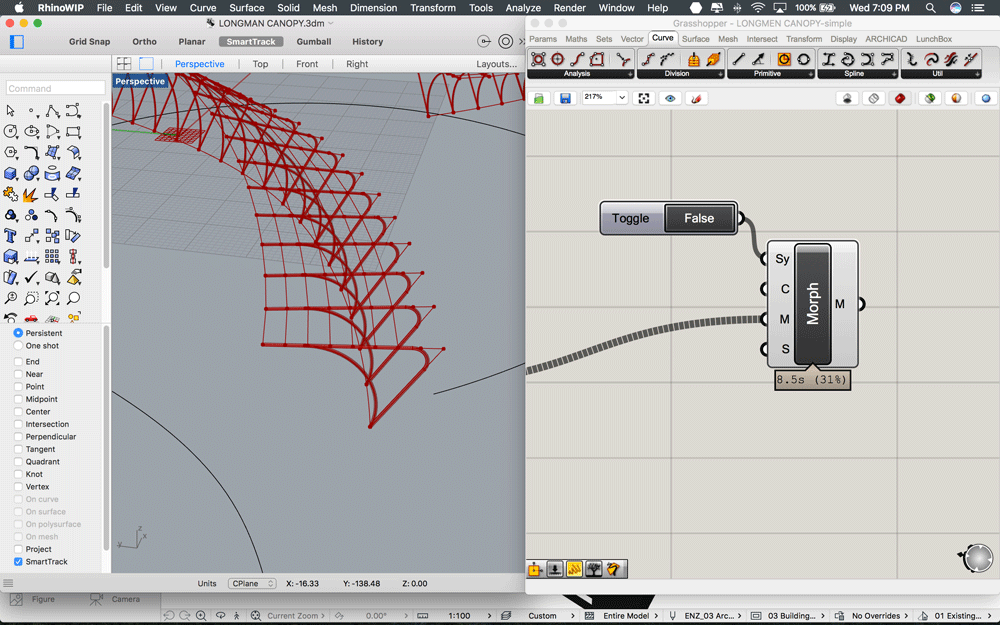
When you are ready to hit send and go for a coffee, just release the toggle to “true”, and that specific element will synchronise with your open AC file.
As I said before, we are really interested in using and trying the plugin in every way possible, and that is why we have decided to use it now in most of our current projects. Probably for the next related articles, I will show more insights of a specific project, so you can see how Grasshopper really empowers your design and your productivity!
Hope you like the post and please comment and share your experiences!
I wish you all a great Christmas break and a Happy New Year!
See you next year. Stay tuned!
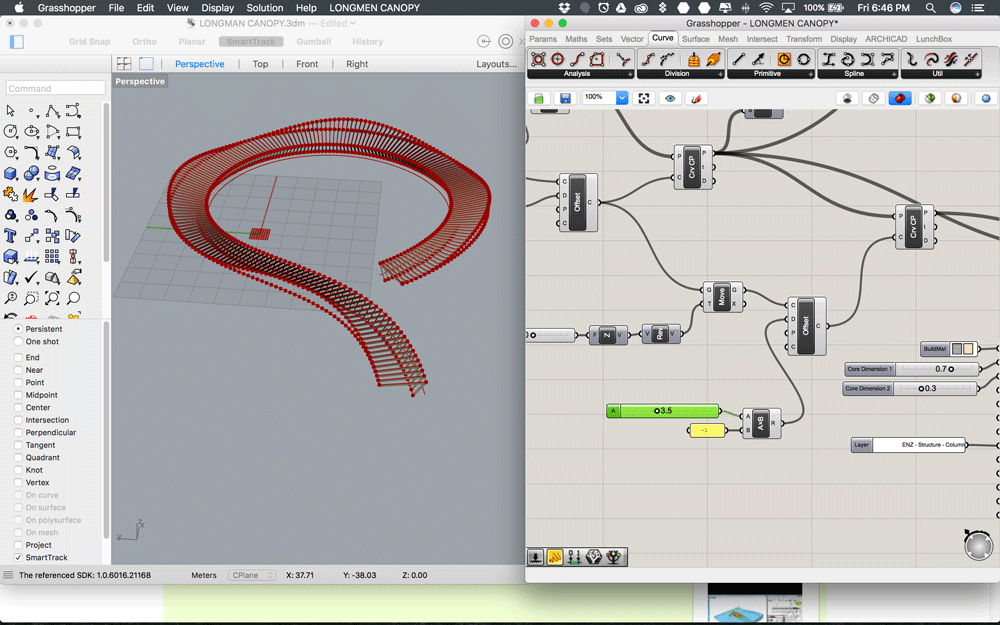
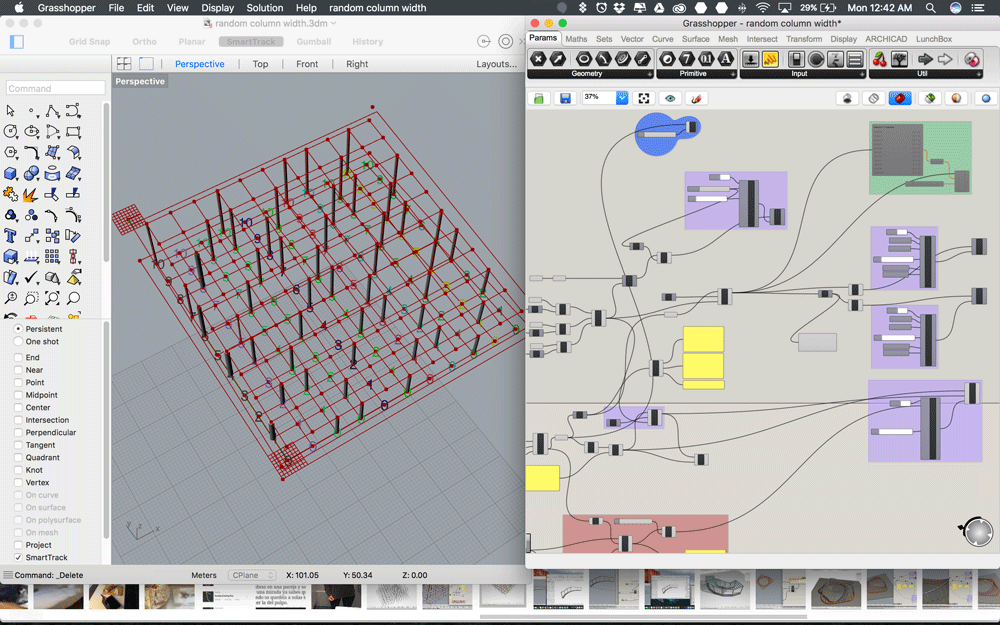
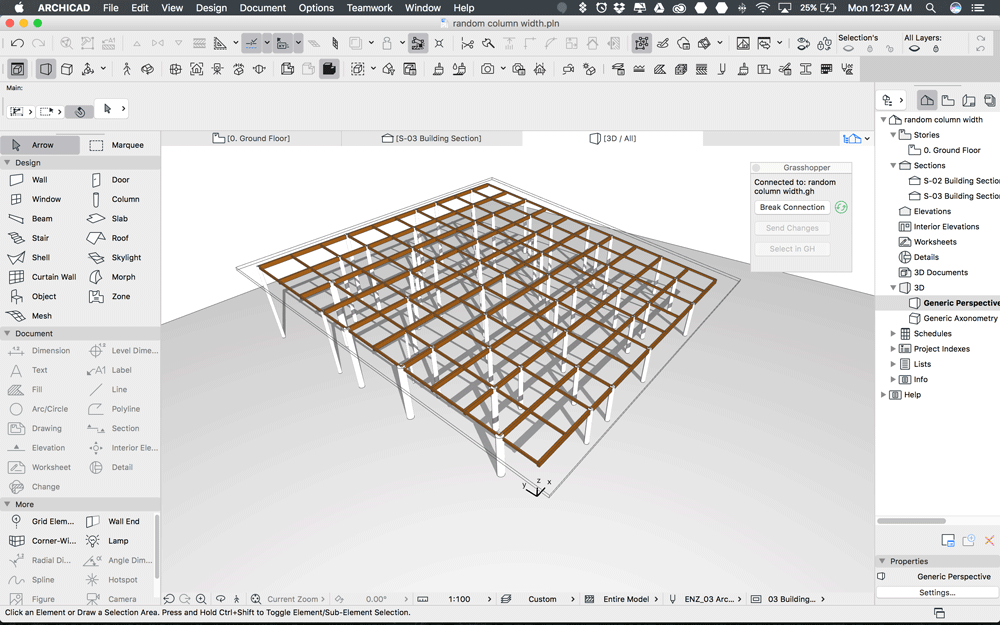
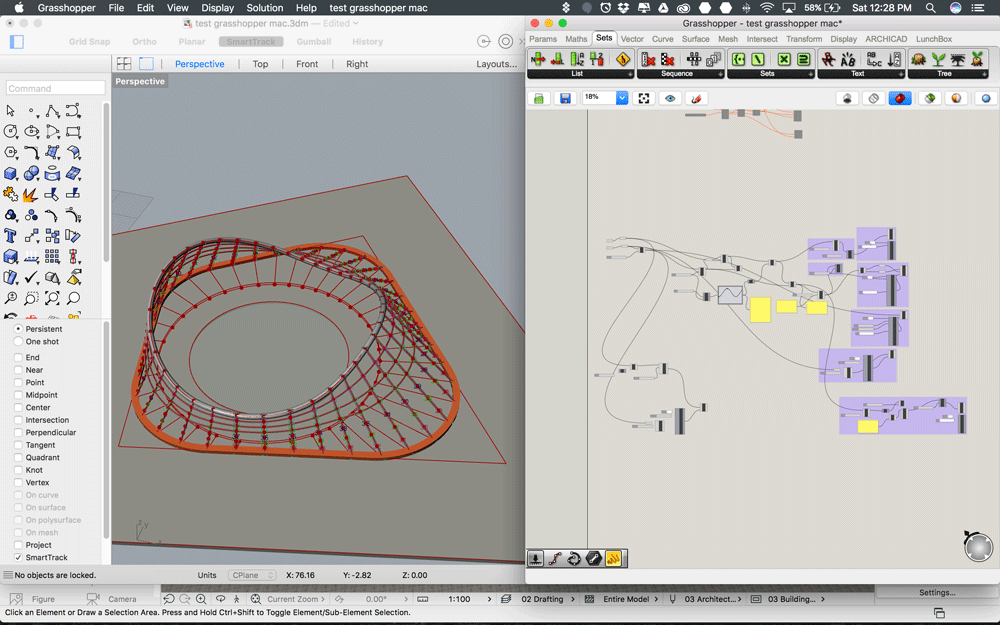
As a bonus, I leave below few screencaps of projects that we are currently working on now!

